Overview
The uccm is an uC Cortex-M zero-config building tool and modules manager. It means this building tool does not require any additional configuration files. All required information needed to build your firmware is available in the source code. Also the tool automatically gets modules from guithub detecting required modules by #include C-preprocessor directives.
Quick Start with PCA10028 (nRF51)
Let’s start with a simple example turning on one LED. First, we need a main.c file like the following:
1 2 3 4 5 6 7 8 9 10 | #pragma uccm default(board) = pca10028 #pragma uccm let(HEAP_SIZE) = 0 #include <uccm/board.h> int main() { setup_board(); setOn_boardLED(0); for(;;) __NOP(); } |
Second, we need the uccm start script which is available on GitHub uccm100-dist.zip.
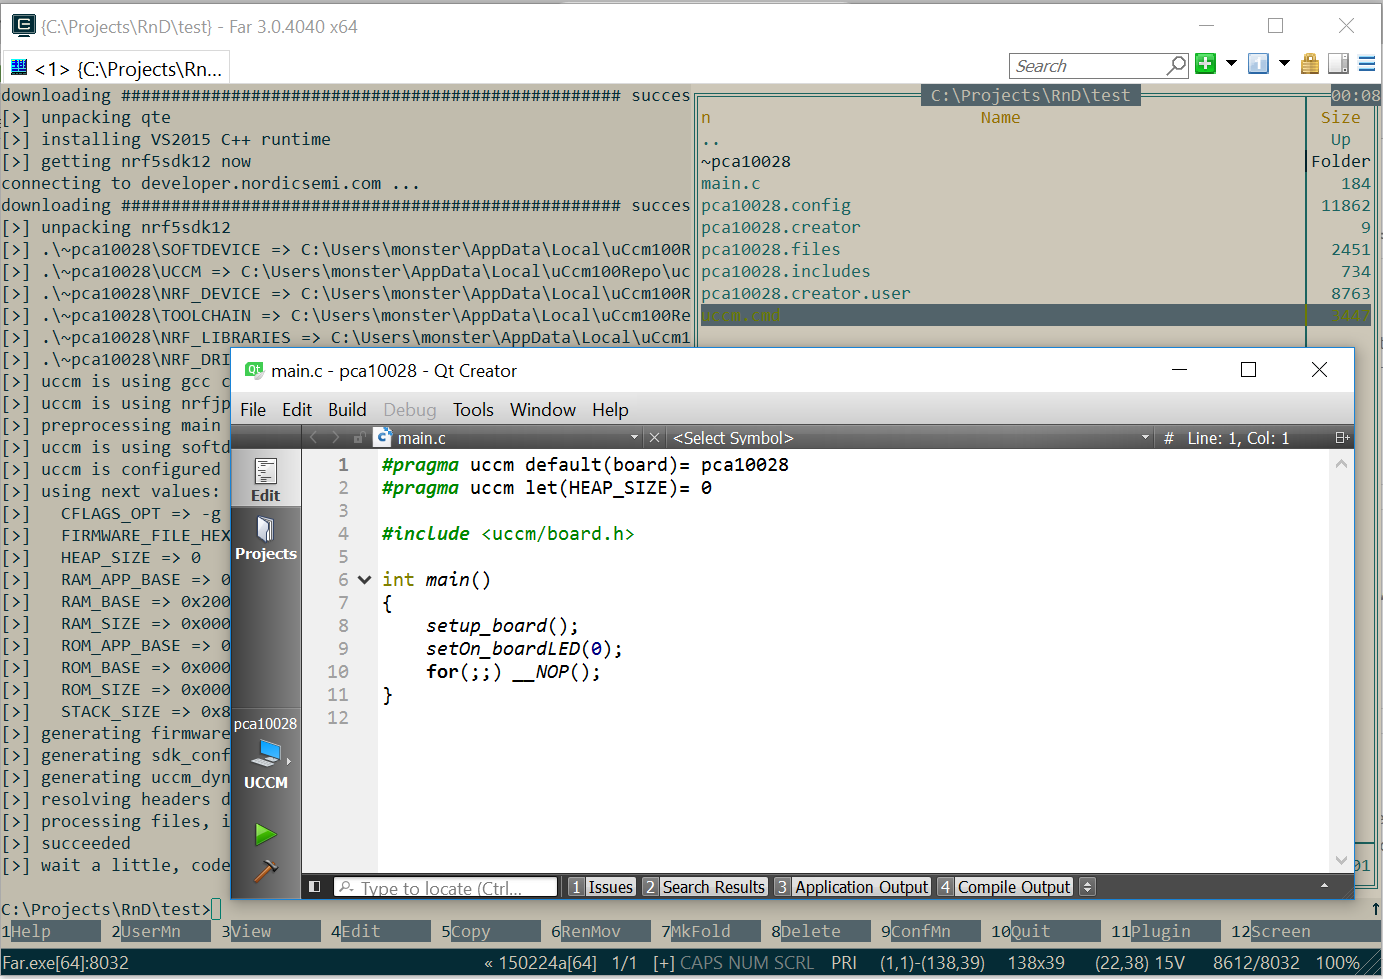
Now, when we have in one directory main.c and uccm.cmd, go to the directory and start the next command
1 | uccm -y --edit |
It downloads all required SDK files, gcc compiler and code editor. Finally, it creates a project and opens main.c in the code editor.
Since this quick start uses pca10028 board based on BLE powered uC nRF51422, uccm by default configures the firmware as used softdevice. Softdevice is a special firmware operating with radio channel and allowing communications via Bluetooth Low Energy. To write a sofdevice on the flash, run the next command
1 | uccm --program-softdevice |
It erases all chip flash memory and writes softdevice to the beginning. Normally, you will need to program softdevice only once. For this operation the board should be connected to the PC and powered on.
Ok, now all is ready to start simplified example turning on one LED. For compiling and flashing compiled firmare press the Start button. It is the green triangle at the bottom of the left panel in the editor.
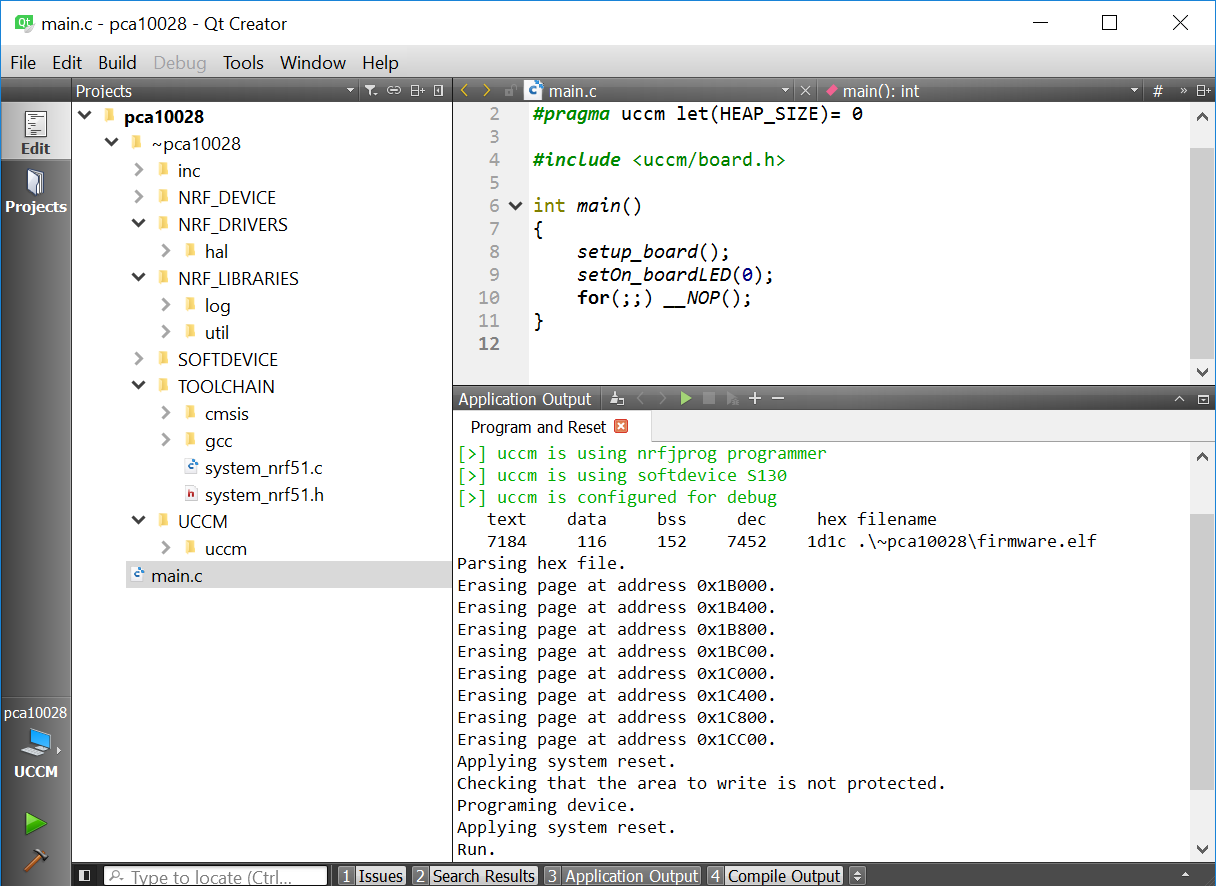
Board should reset and light LED1.
Using Modules
It’s a good idea to move some functionality to a separated module for reuse and reducing complexity. The other good idea is importing required modules automaticaly right from the github.
Uccm imports modules from github with only one line of code in .C file
1 | #include <~githubuser/reponame/import.h>
|
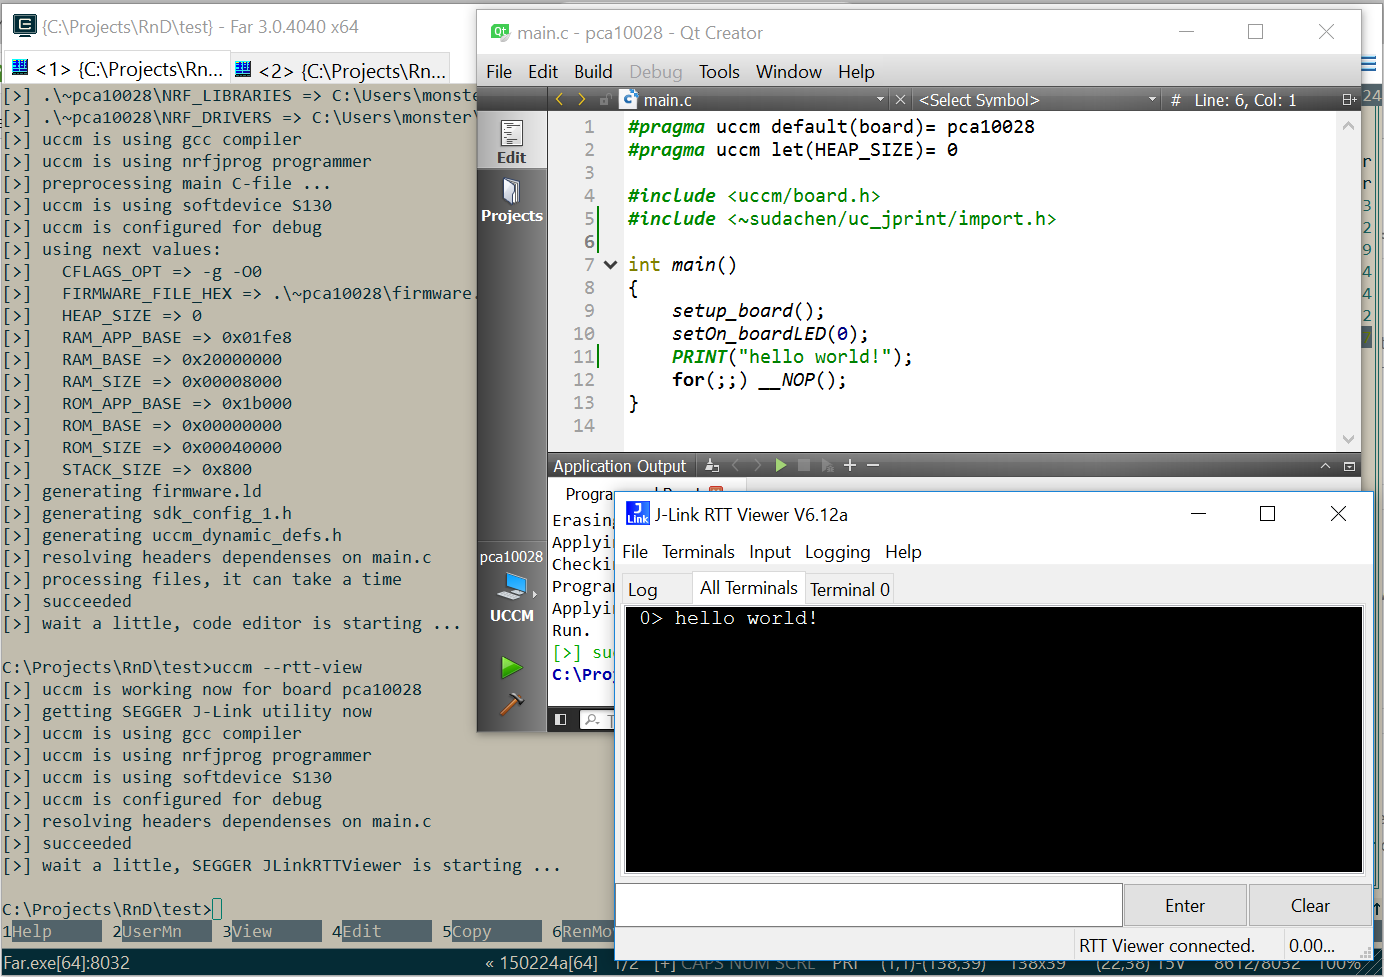
For example let’s try to make a classic helloworld program which prints “hello world!” on the screen. Actually, uC board have no screen yet, but it can use UART or, even better, SEGGER RTT mechanism to print on console running on a connected PC.
1 2 3 4 5 6 7 8 9 10 11 12 13 | #pragma uccm default(board) = pca10028 #pragma uccm let(HEAP_SIZE) = 0 #include <uccm/board.h> #include <~sudachen/uc_jprint/import.h> int main() { setup_board(); setOn_boardLED(0); PRINT("hello world!"); for(;;) __NOP(); } |
There are two changes. First is at the line 5, we import here a module which implements printing funtionality based on SEGGER RTT. Second is at the line 11, here we print classic helloworld message.
Let’s now rebuild the project. Use Build menu from menu bar and choose Rebuild All. It will reconfigure our project and fetch the printing module from github.
To see what uC is printing we need start a RTT consloe, do next command to start one.
1 | uccm --rtt-view |
Now it’s the time to press Start (green trinagle)!